

















Snow & Sky
The Snow & Sky group sets the winter scene above your shop: snow falling across the page, snow settled along the top edge and your header, a night sky of twinkling stars, and a garland of festive lights. Turn on the ones you like, tune each with its live preview, and let a palette keep them all in step.
Open the group from the left menu of the module and pick a section. Every section works the same way: an on/off switch at the top, its options below, and a live preview that shows your changes before you save. An ⓘ help note sits on every field, and each effect starts off until you switch it on — so you add exactly the touches you want and nothing you don't. These effects are purely visual: they sit on top of your theme and change nothing in your products, prices or layout.
Falling snow
Body snow is the effect most people picture: soft flakes drifting down the whole page. Switch on Body snow and the preview fills with snow you can shape. Snowflake style chooses which flake graphic falls (the default white flakes with a dark outline suit most themes; a plain set reads better on dark backgrounds), Fall speed offers slow, normal or fast, and Snow opacity dials the flakes from fully visible to barely there. Snowflake size (%) scales them between 10 and 300 per cent, and Snow density sets how many fall at once, from 1 to 100.
Two more fields place the snow on the page: Start height (px) is how far down the layer begins, and Snow area height (px) is how tall a band it covers — raise the second to blanket a tall hero or header. If you want a deeper winter backdrop, Page background colour paints a colour behind the page (a deep blue, say), and Background image puts a winter photo there instead; both are optional and off by default.
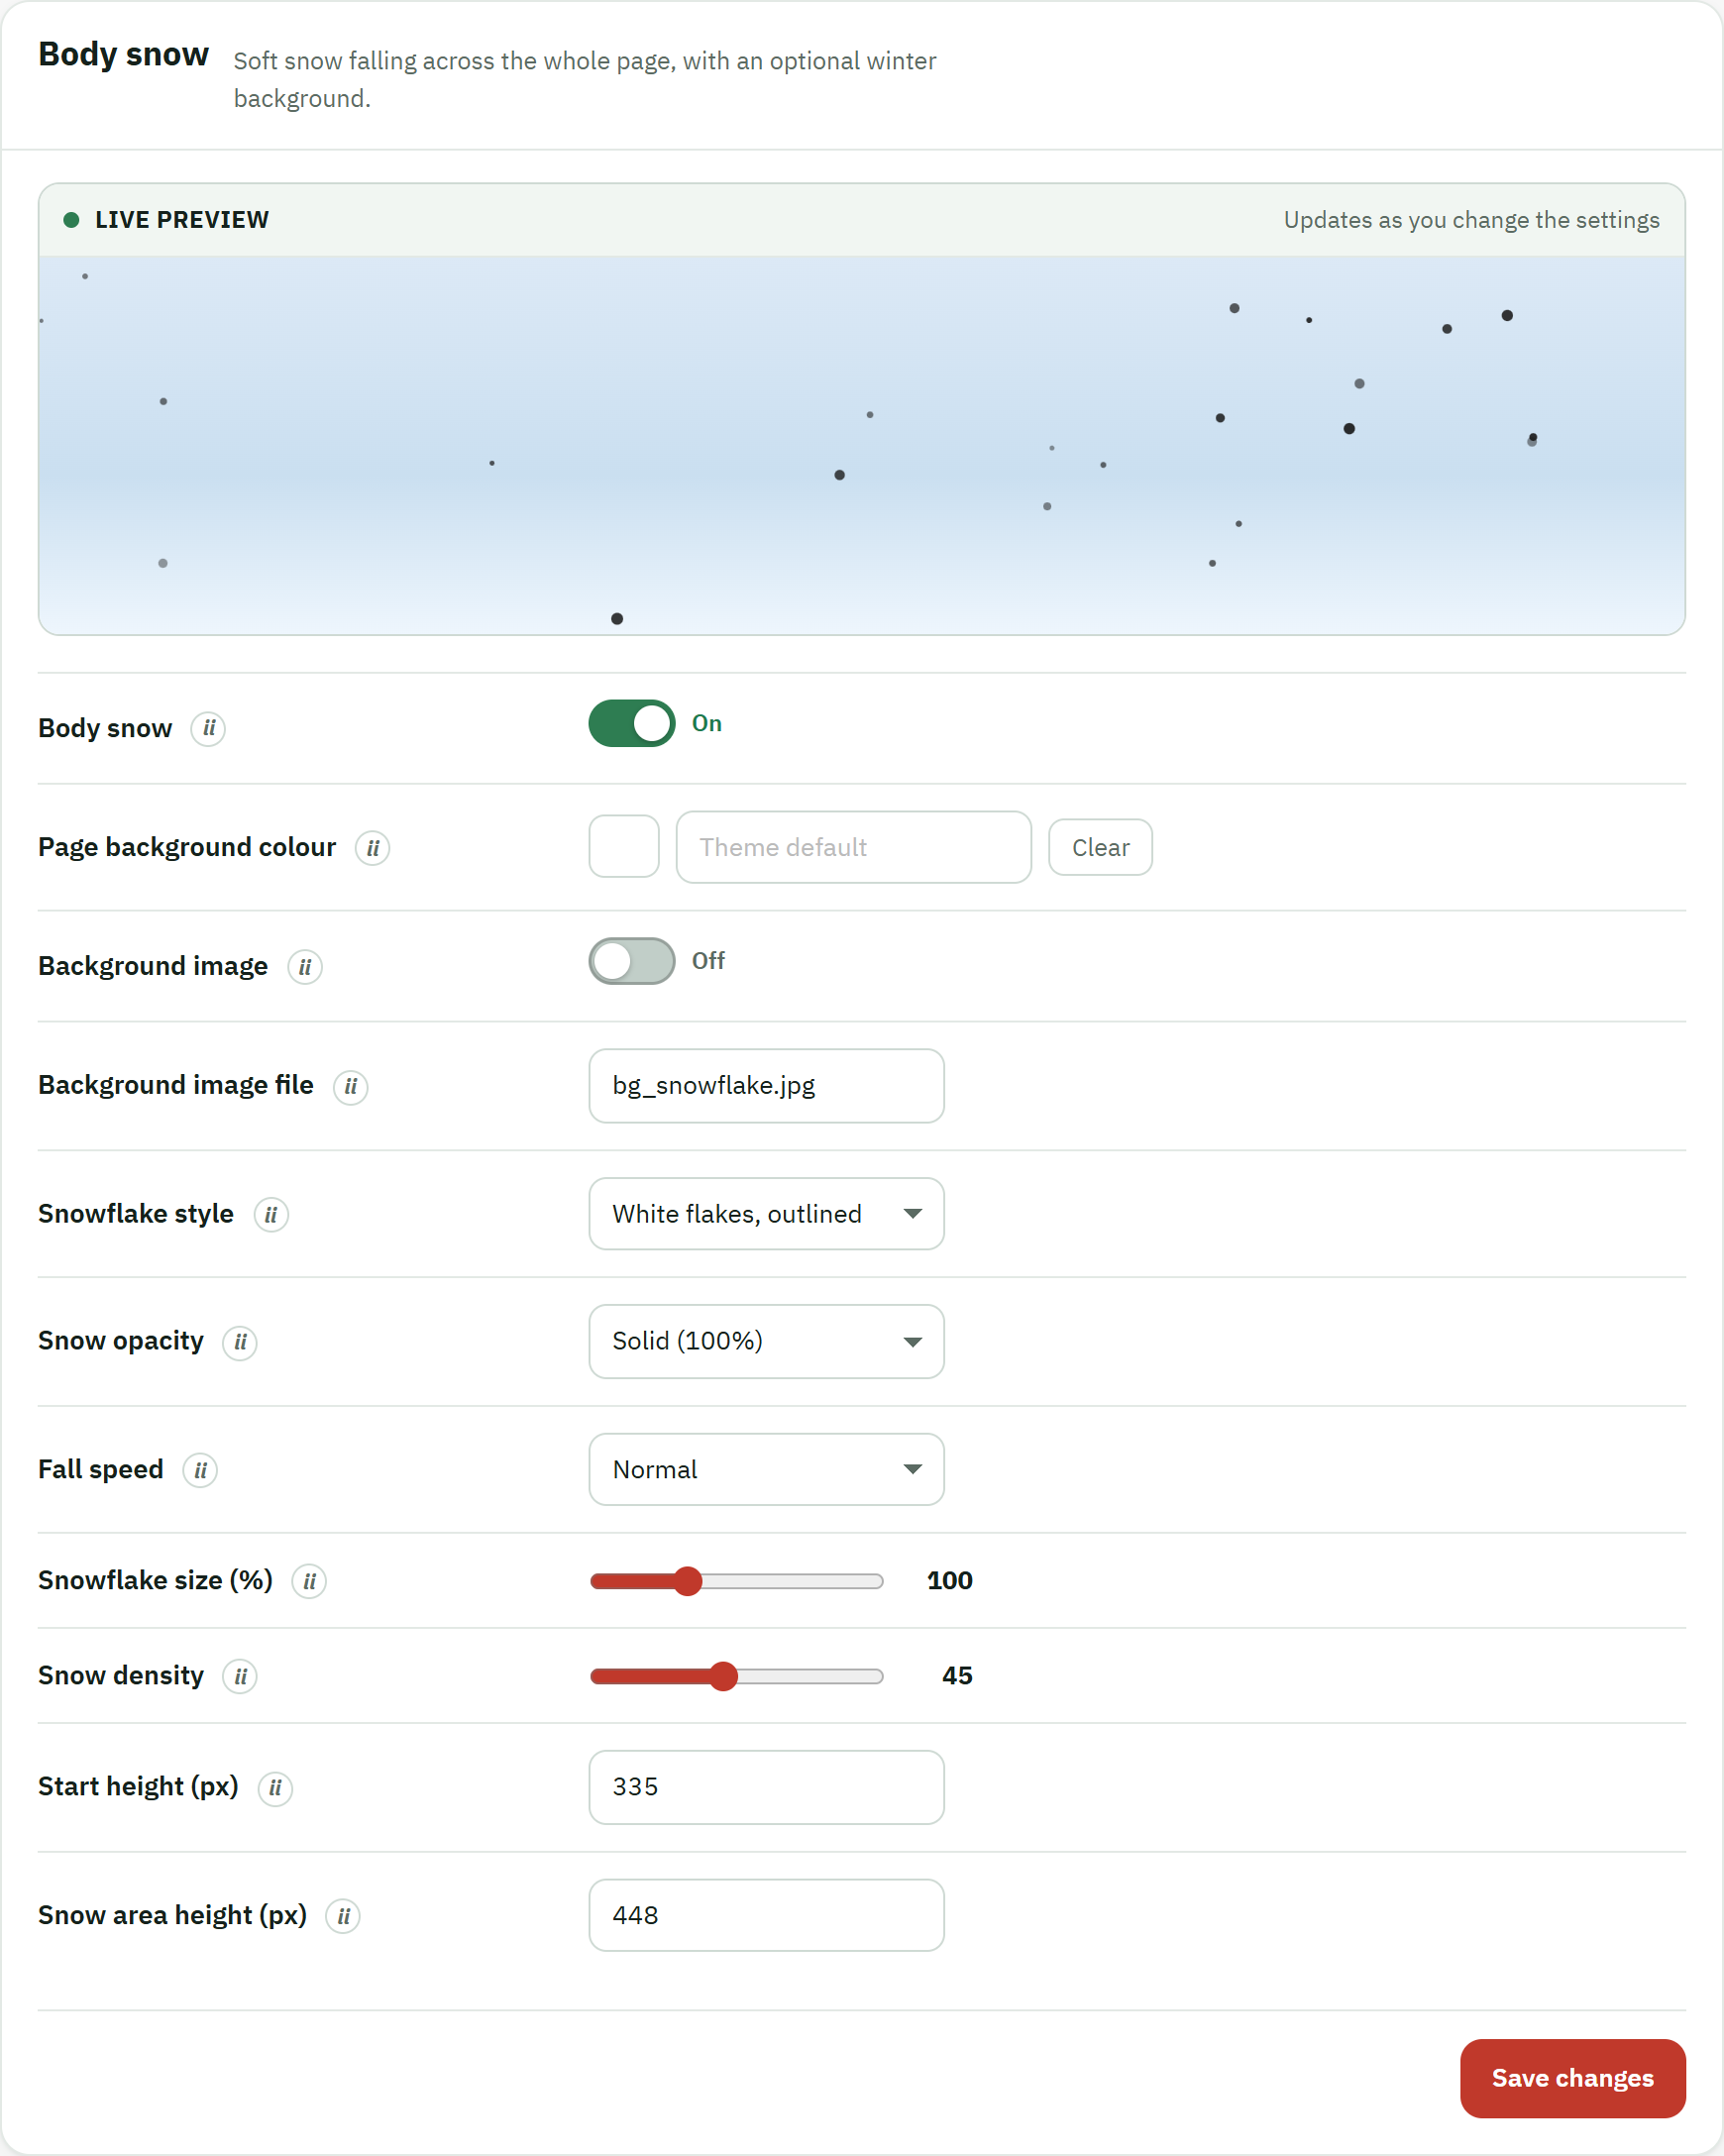
- The Body snow on/off switch. Everything below it takes effect only once this is on.
- The intro line under the title, explaining the effect — the same plain-language note you'll find behind the ⓘ on each field.
- The Save changes button. The preview updates live as you tune, but your visitors see the new settings only after you save.
On the storefront the result is quiet and continuous — flakes drift down over your pages without touching the content beneath them:
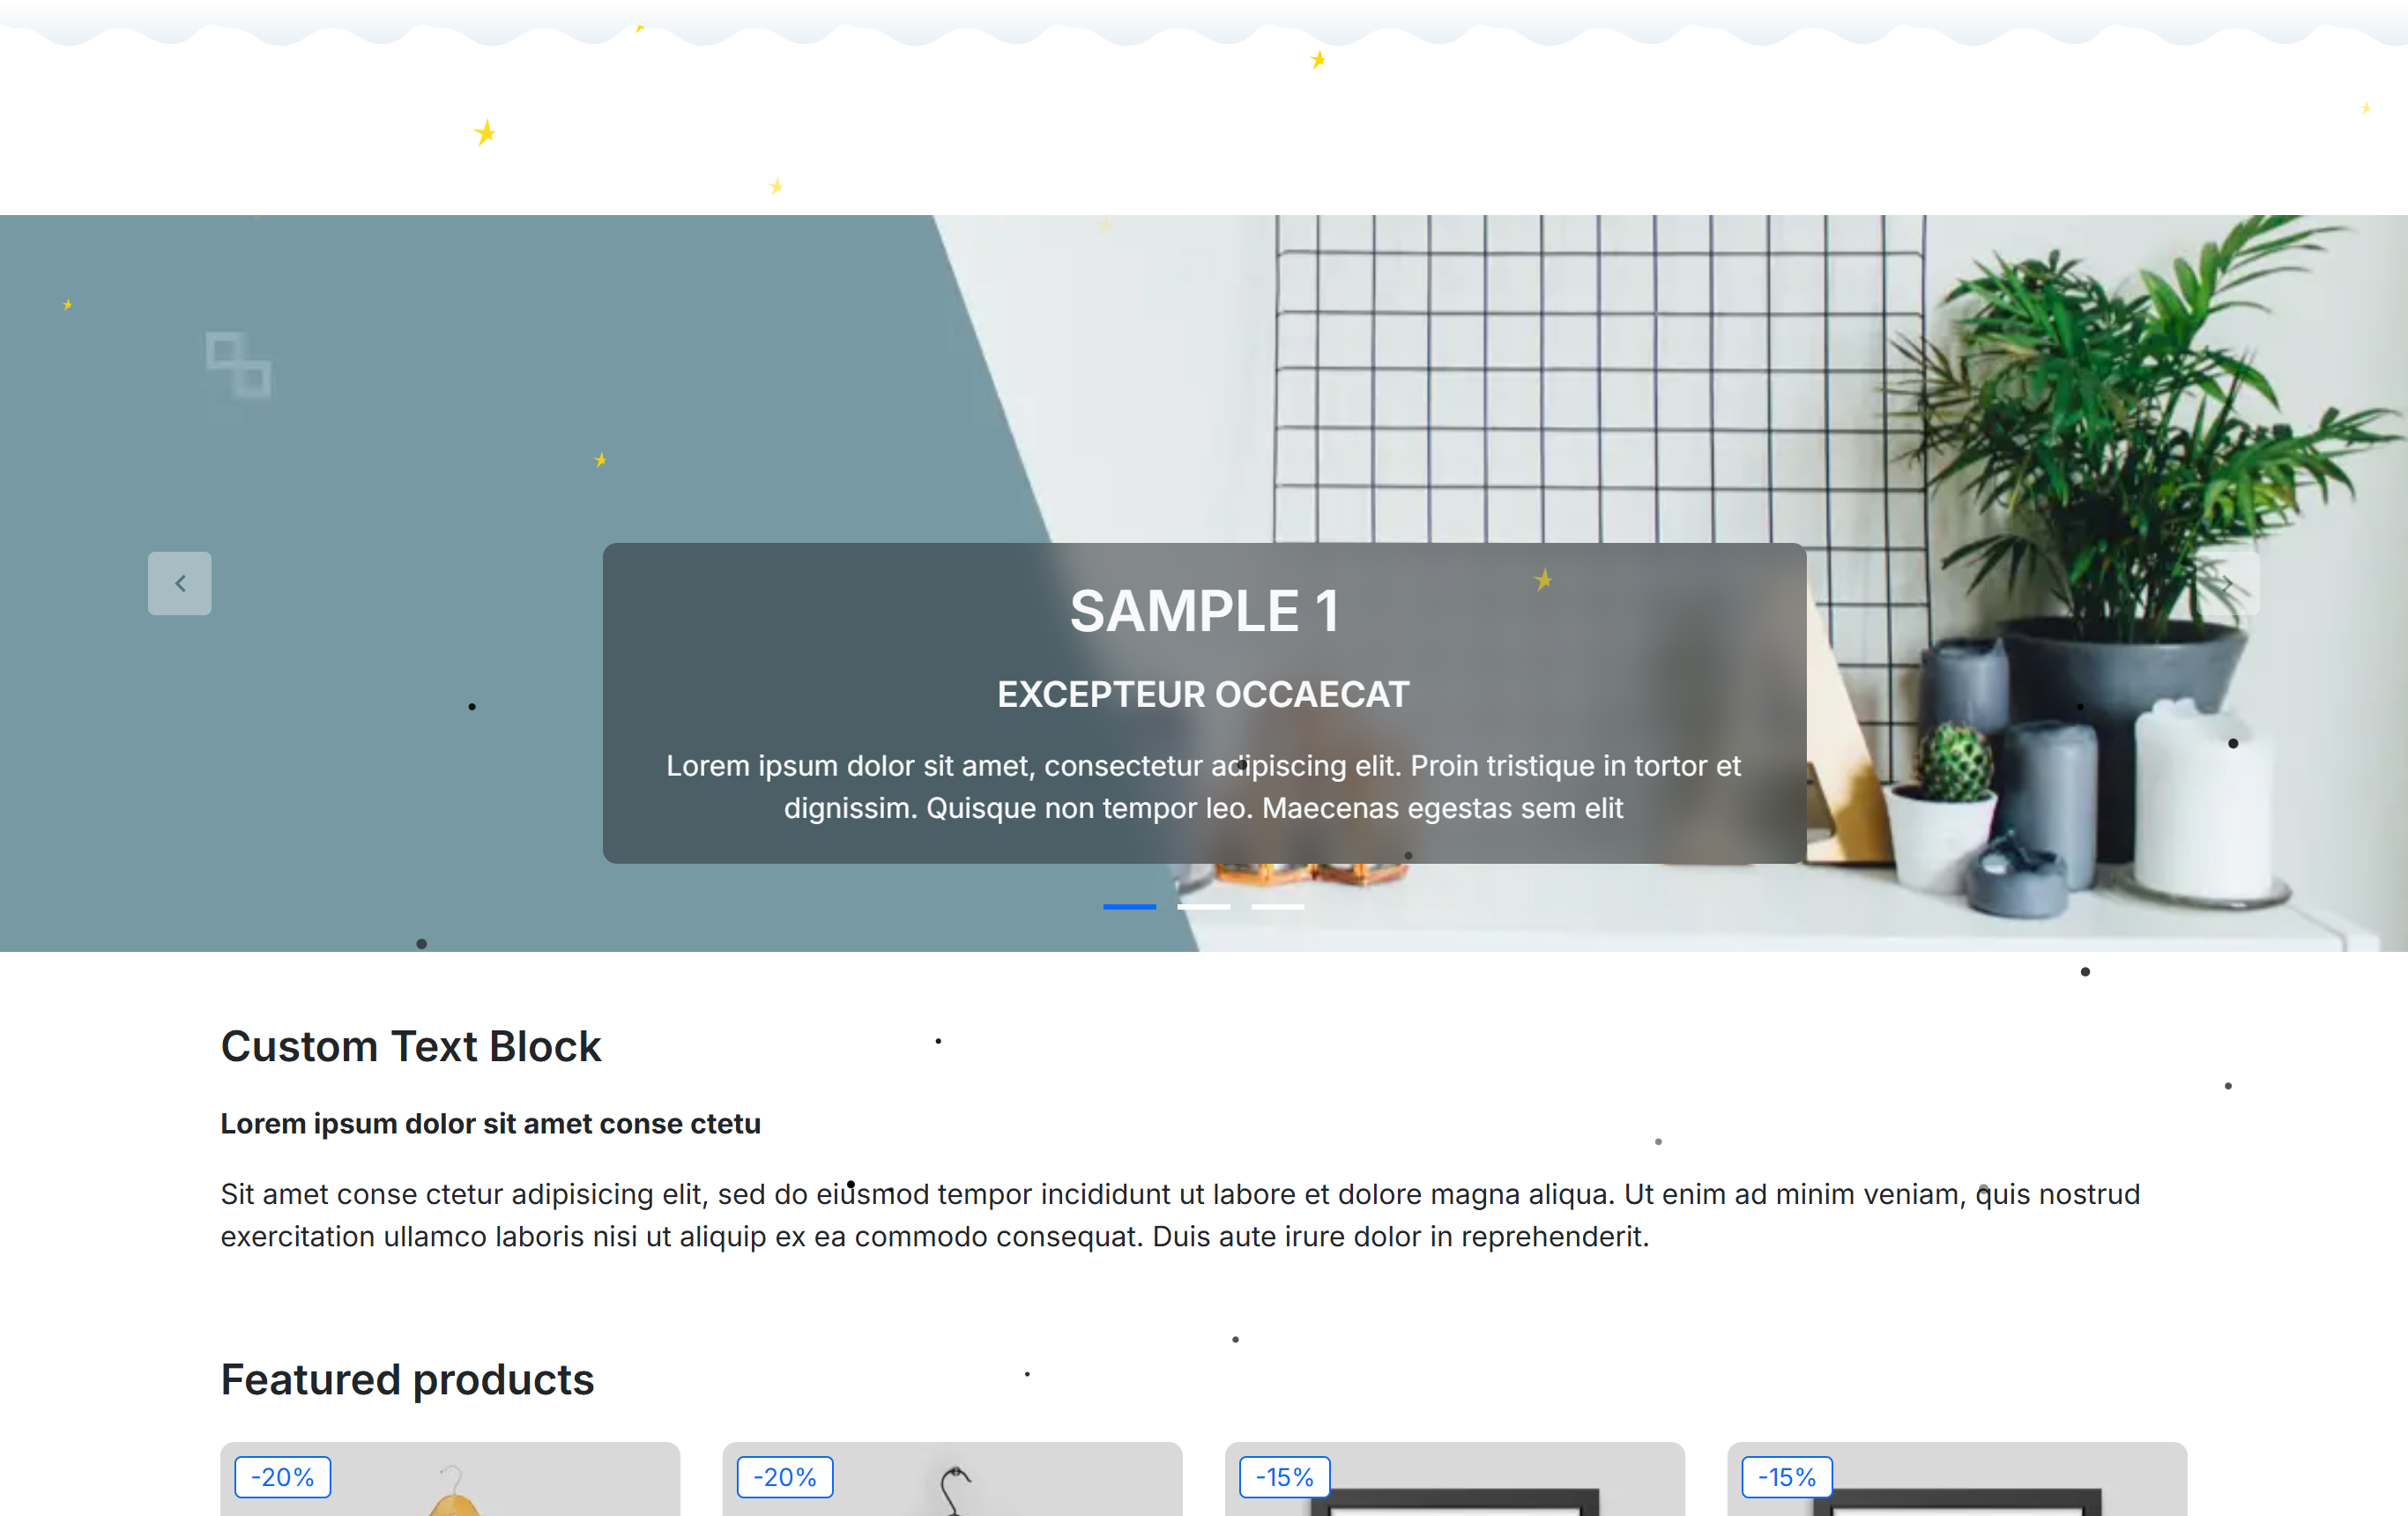
- The falling-snow layer, drawn over the whole page.
Top snow
Top snow adds a strip of settled snow along the very top edge of the page, like snow gathered on a window frame. It has one option beyond its switch: Stick to the top while scrolling keeps the strip fixed at the top of the screen as visitors scroll, rather than letting it scroll away with the page. The preview notes which behaviour you've chosen.
Header snow
Header snow rests a ridge of snow along the top edge of a chosen element, as if it had
settled there overnight. Target element (CSS selector) says what it rests on — the default
#header is your shop header, and you can point it at another selector to move the ridge;
if the element isn't found, the snow rests at the very top of the page. Snow depth (px) sets
how thick the pile looks (2 to 40), and Snow colour sets its shade — white by default, though
a soft off-white or pale blue can suit a darker header.
Twinkling stars
Twinkling stars hangs a clear winter night sky behind your shop. Number of stars runs from 1 to 200, Star colour is gold by default (a pale blue or white gives a frostier look), and Smallest star (px) with Largest star (px) fix the range of sizes the stars are drawn at. Twinkle speed goes from calm to lively, Where stars appear spreads them across the full screen, the top third (the sky), the corners or a few clusters, and Star shape draws each one as a star, circle, snowflake, sparkle or diamond.
The lights garland
Christmas lights strings a garland of festive bulbs across the top of the page. Switch it on and the preview lights up. Light style picks the bulb shape — classic string, oval, elongated, icicle, LED or vintage — and Colour scheme sets the mix: traditional, warm, cool, rainbow, red and green, blue or gold. Twinkle speed controls how quickly the bulbs blink or chase (1 gentle to 10 fast), Bulb size (px) makes each bulb larger or smaller (1 to 30), and Bulb spacing packs them loosely or densely along the string (1 to 100).
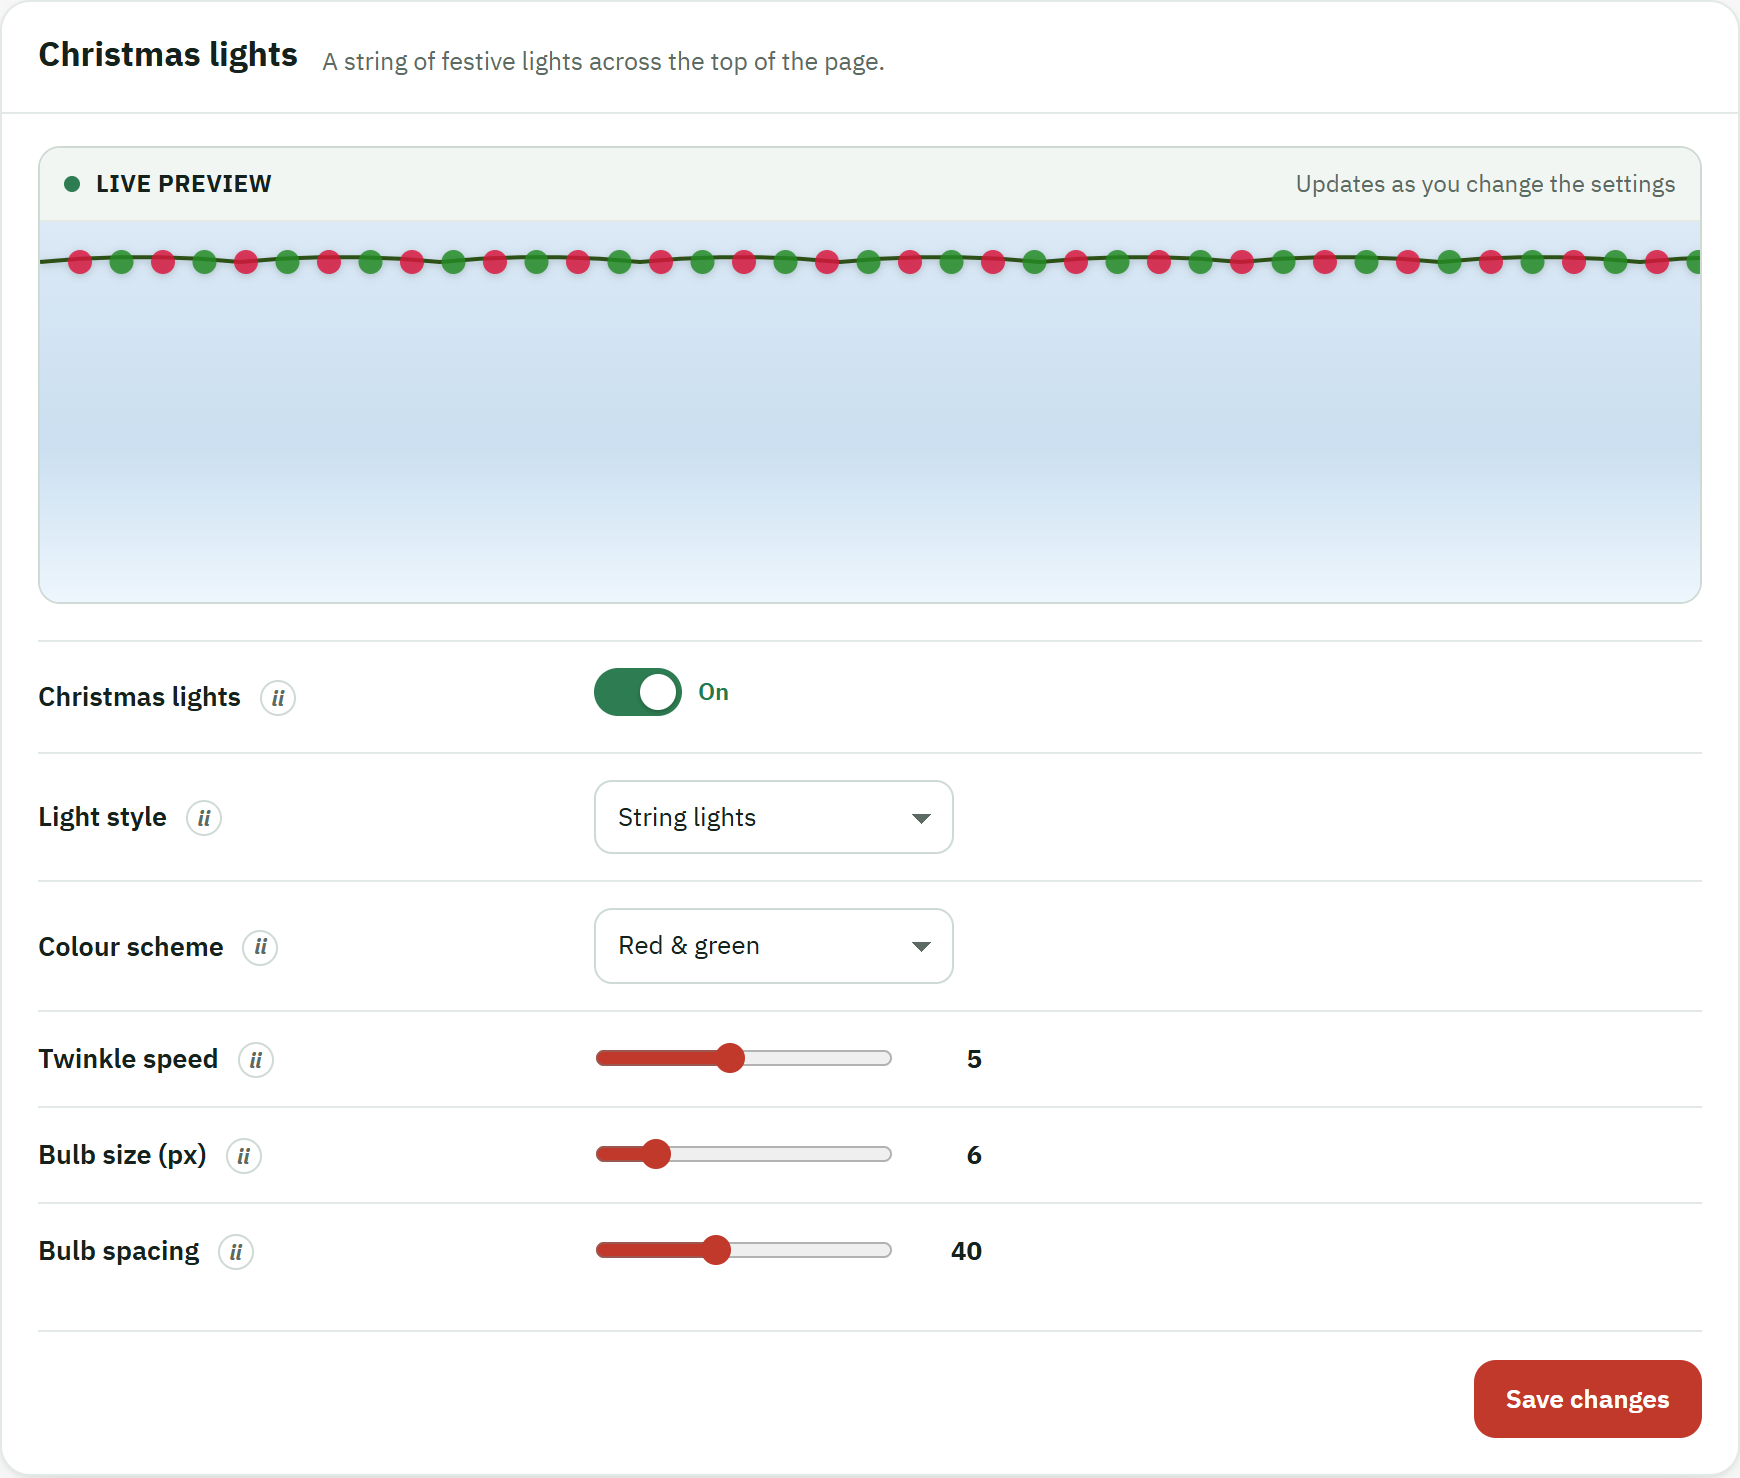
- The Christmas lights on/off switch.
- The section title, naming the effect you're editing.
- The Save changes button, which applies the garland to your storefront.
The lights pick up the colours of your palette preset unless you choose a fixed scheme here, so in most shops the one garland stays in keeping with the snow, the stars and the rest of the season. Between the body snow, the two settled-snow effects, the stars and this garland, you can go from a plain December shop to a full winter sky in a handful of switches — and turn any of them back off just as quickly.
Characters
The Characters group adds two friendly faces to the season: a sleigh that flies across the top of your shop, and a snowman standing in a corner. Each is off until you switch it on, comes with a choice of ready-made styles, and shows in a live preview while you set it up.
Both sections follow the pattern you've seen across the module: an on/off switch at the top, a style picker with thumbnails, a few placement and size options, and a live preview. An ⓘ help note explains each field. If none of the ready-made styles is quite right, every character can take an image of your own. Like the rest of White Christmas, the characters are purely visual touches laid over your theme.
Flying Santa
Flying Santa sends a sleigh gliding across the top of the page, leaving a sparkling trail behind it. Turn on Enable Flying Santa, then choose a Santa style from the thumbnails — Classic Santa #1, Classic Santa #2, Modern Santa or Cartoon Santa — or pick Custom image and upload your own PNG or GIF (up to 500 KB) in the Custom Santa image field below.
Width (px) and Height (px) size the sleigh (20 to 600), so you can make it a bold
flypast or a small, distant one. The Trail colour setting decides the sparkle it leaves:
Colourful cycles through festive colours on its own, while Single uses the one
colour you set in Trail colour (single) just below — any CSS colour, such as
#FFD700 for gold.
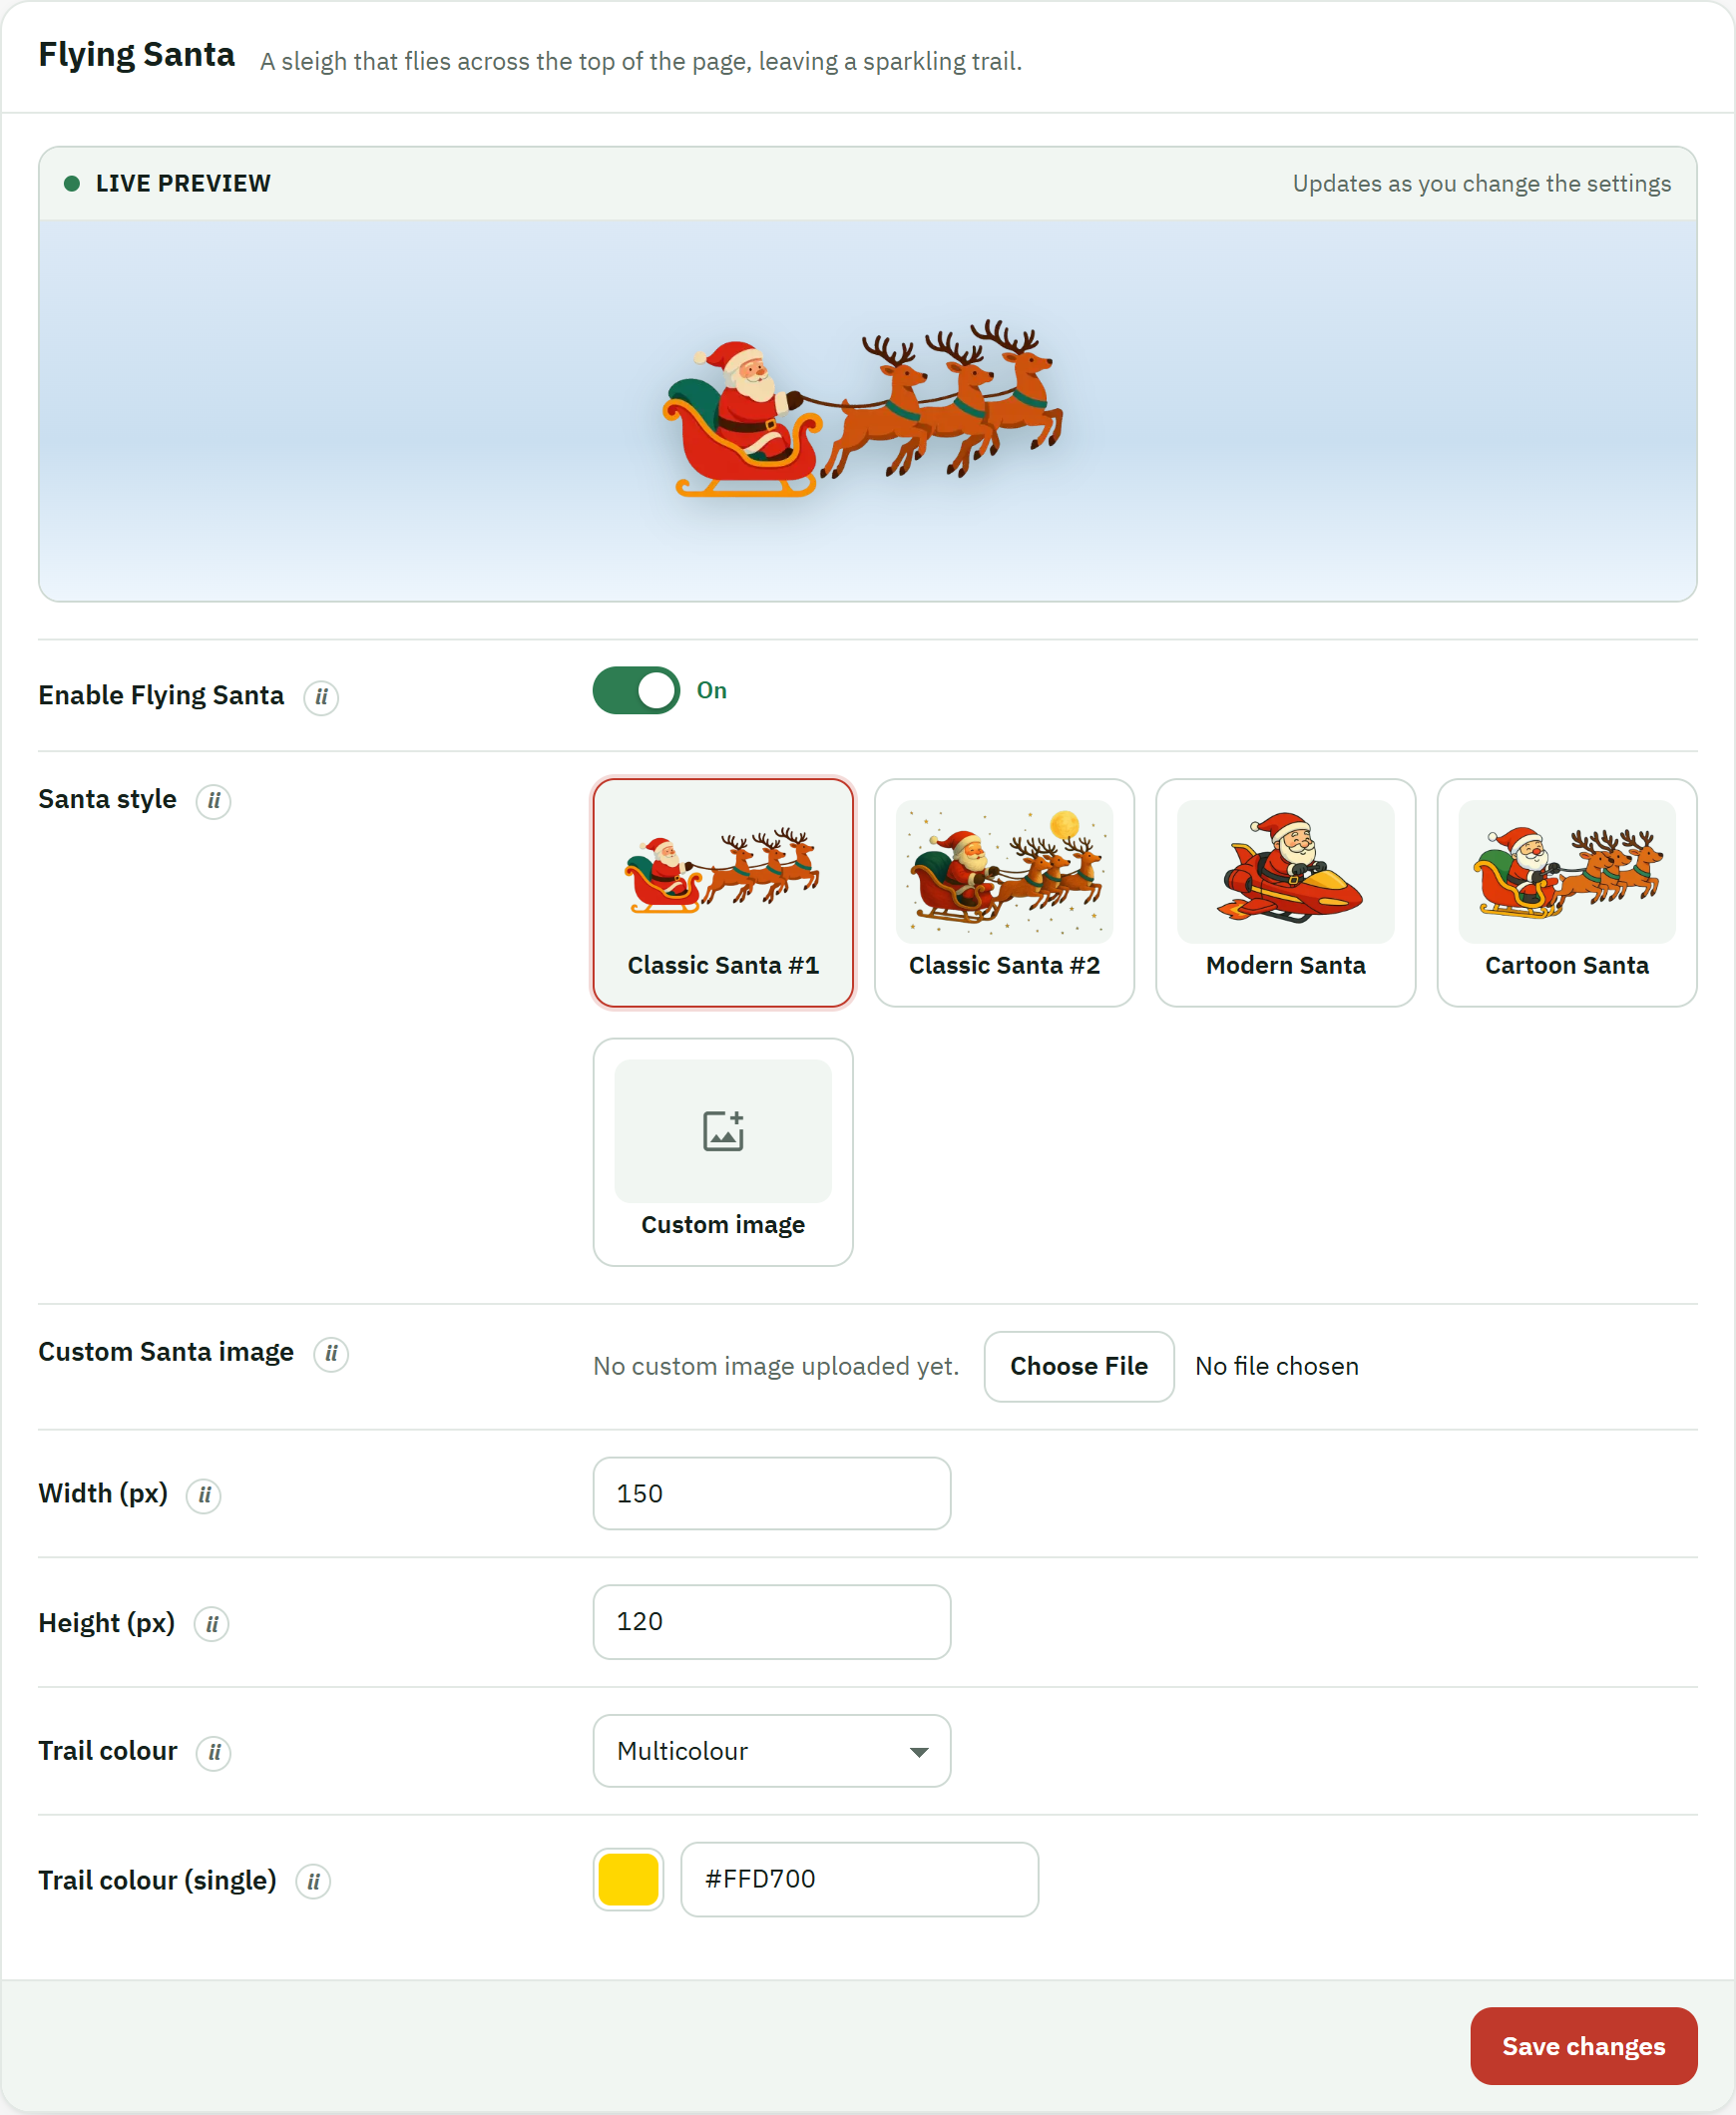
- The Enable Flying Santa on/off switch. The style, size and trail options take effect only when this is on.
- The Save changes button. The preview updates as you choose; your visitors see the sleigh once you save.
Snowman
Snowman stands a cheerful figure in a bottom corner of your shop. Switch on Enable snowman and pick a Snowman style — Classic, Modern, Cartoon or Fancy snowman — or choose Custom image to use your own PNG or GIF in the Custom snowman image field.
Corner places him in whichever bottom corner you prefer. Size offers small, medium or large presets, or Custom, which reveals Width (px) and Height (px) so you can set the exact dimensions (20 to 600). Animation brings him to life — none, a gentle sway, a bob up and down, or both together — and Animation speed runs from 1 (slow) to 10 (fast).
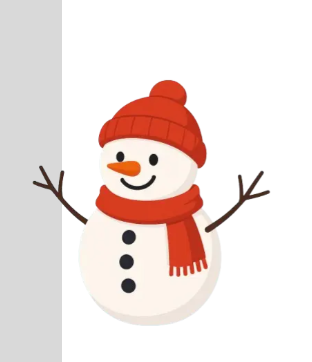
- The snowman, resting in the corner you chose and animating at the speed you set.
Because the snowman sits in a fixed corner, he stays in view as visitors scroll without getting in the way of your products or buttons. Together with the Flying Santa overhead, the two characters give the shop a little life — set them once, and the season schedule (Setup) tidies them away again in January along with everything else.